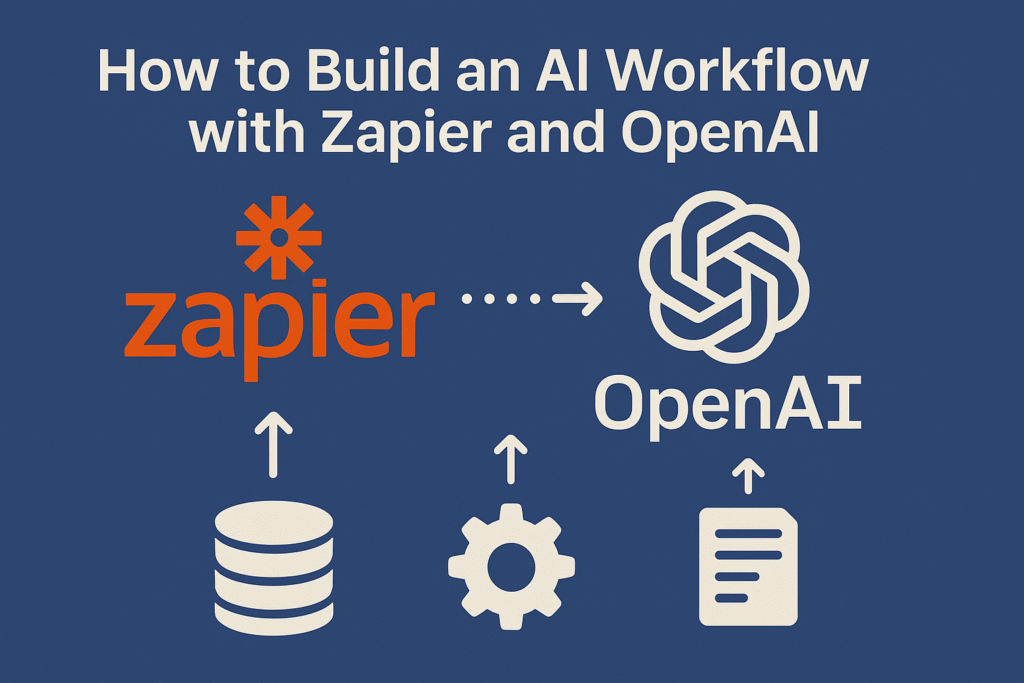
⚙️ How to Build an AI Workflow with Zapier and OpenAI: Step-by-Step Guide for 2025
Learn how to build an AI workflow with Zapier and OpenAI. This easy guide shows how to automate tasks using ChatGPT, triggers, and Zaps—only on AiBlogQuest.com.
🤖 Introduction: Why Build AI Workflows?
In a world of increasing digital demands, automating repetitive tasks using AI is no longer optional—it’s essential.
By integrating Zapier and OpenAI, you can build powerful workflows that respond, generate, summarize, and automate actions across dozens of platforms like Gmail, Notion, Slack, or Google Sheets.
At AiBlogQuest.com, we’ll show you exactly how to build an AI workflow with Zapier and OpenAI—even with zero coding skills.
🚀 What You’ll Need to Start
-
A Zapier account (Free or Premium)
-
An OpenAI API key
-
Access to apps like Gmail, Notion, Slack, Google Docs, etc.
-
Clear idea of your task (e.g., email summary, auto-response, content generation)
🔄 Step-by-Step: Build an AI Workflow with Zapier and OpenAI
✅ Step 1: Connect OpenAI to Zapier
-
Go to Zapier
-
Choose “Create a Zap”
-
Search for OpenAI and connect your API key
-
Choose an action like:
-
“Send Prompt to OpenAI”
-
“Generate ChatGPT Response”
-
✅ Step 2: Set Your Trigger App
Common trigger apps include:
-
Gmail: New email received
-
Notion: New database entry
-
Google Sheets: New row added
-
Typeform: New form submission
Example: When a new email is received → trigger OpenAI
✅ Step 3: Customize the Prompt
Use dynamic variables from your trigger data.
Example prompt:
“Summarize the following email in 1 sentence: {{email_body}}”
🧠 You can also ask OpenAI to:
-
Reword emails professionally
-
Generate replies
-
Tag sentiment
-
Extract keywords
✅ Step 4: Add Action Steps
After the OpenAI step, you can:
-
Send the response via Gmail or Slack
-
Update a Notion page
-
Log it in Google Sheets
-
Create a task in ClickUp or Trello
📌 This turns your AI output into real-time automation.
✅ Step 5: Test & Turn on the Zap
Zapier will walk you through testing. Once you’re happy, name your Zap and turn it on!
You now have a fully automated AI workflow.
💡 Example Use Cases
| Use Case | Trigger | AI Action |
|---|---|---|
| Summarize Client Emails | Gmail | Summarize with ChatGPT |
| Auto-Reply to Leads | Typeform | Generate follow-up message |
| Blog Outline Generator | Google Sheets | Generate outline from topic title |
| Content Rewriter in Notion | New Notion block | Rewrite or enhance content |
| Task Suggestions from Emails | Gmail | Extract action items |
🔗 Useful Links
🌐 Resources
❓ FAQ – Build an AI Workflow with Zapier and OpenAI
Q1: Do I need coding experience to use OpenAI with Zapier?
No. Zapier is no-code. You just connect apps and fill in prompts.
Q2: Is OpenAI free to use on Zapier?
OpenAI requires a paid API key. Zapier also may require a paid plan for multi-step Zaps.
Q3: Can I build multiple workflows?
Yes, you can build as many AI-powered Zaps as you like—limited only by your Zapier plan.
🏁 Final Thoughts
The ability to build an AI workflow with Zapier and OpenAI gives you superpowers—whether you’re a freelancer, entrepreneur, or corporate team.
With a few clicks, you can turn intelligent AI prompts into hands-free automation that saves time, reduces stress, and improves productivity.
For more no-code AI guides, tutorials, and tool reviews, bookmark AiBlogQuest.com—your go-to AI productivity resource.
🏷️ Tags:
Build AI Workflow with Zapier, Zapier and OpenAI, ChatGPT Automation, No-Code AI Automation, AiBlogQuest


